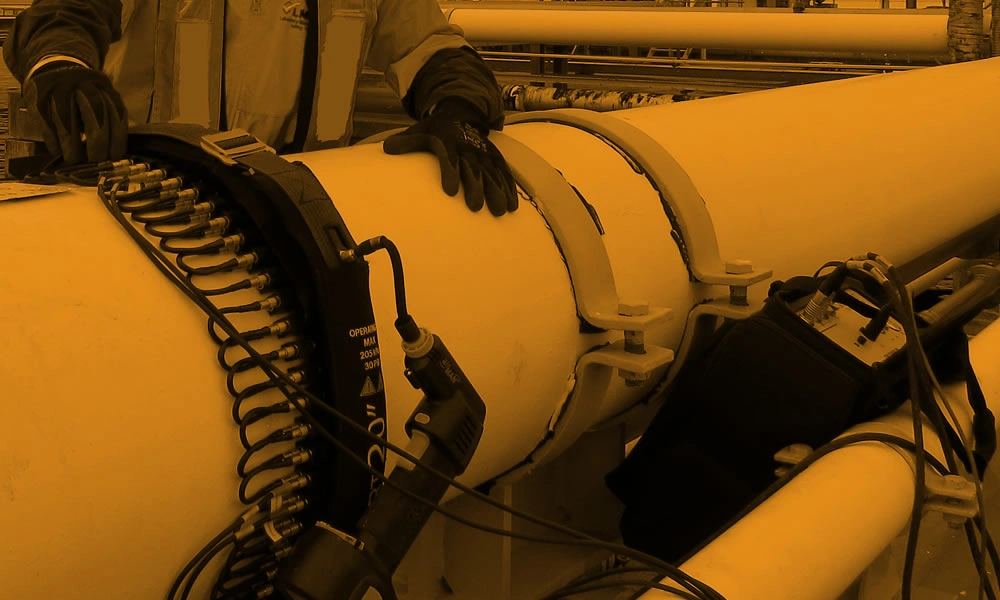


Welding flaws can compromise the welded structure’s stability and integrity. When it comes to testing welds, Time of Flight Diffraction (TOFD), high-performance non-destructive testing (NDT) technique, provides accurate detection and sizing of cracks, slag and lack of fusion in true wall direction, allowing you to access the vessel’s life. We will be with you throughout your testing project and will provide you with tailored solutions. Weld testing using the TOFD technique, data processing and report preparation using the developed software are all part of our capabilities. We believe that using our TOFD inspection service will result in significant time savings throughout the life cycle of new construction and replacement projects.
It is an excellent and widely accepted pre-service and in-service inspection tool that is recognized internationally, with defined codes, standards and acceptance criteria available for its use.
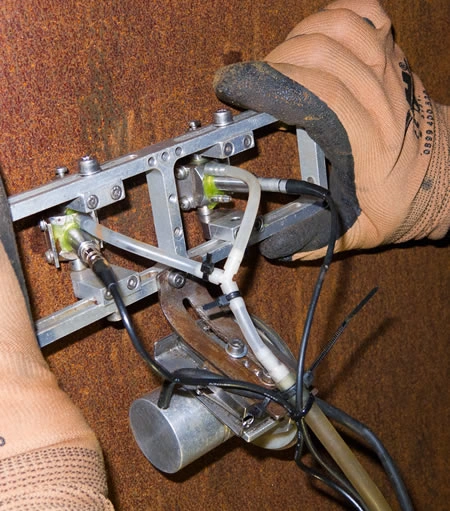
TOFD is an ultrasonic testing innovation that consists of two probes. One will serve as a transmitter, while the other will serve as a receiver. Instead of recording the ultrasound reflected by defects, it detects the diffraction of sound waves emitted by the tips of defects. TOFD inspection provides precise data on the length and height of defects. TOFD, unlike other testing methods, can detect flaws regardless of their orientation.

TOFD is an ultrasonic testing innovation that consists of two probes. One will serve as a transmitter, while the other will serve as a receiver. Instead of recording the ultrasound reflected by defects, it detects the diffraction of sound waves emitted by the tips of defects. TOFD inspection provides precise data on the length and height of defects. TOFD, unlike other testing methods, can detect flaws regardless of their orientation.
TOFD differs from conventional pulse-echo ultrasonics in that it is a non-amplitude-based technique that relies on diffracted energy rather than reflected energy. TOFD, on the other hand, uses time-based, low energy, diffracted signals from the tips of flaws to measure and image the flaw’s exact or absolute position and size. The technique employs two probes, a transmitter and a receiver, which are normally placed on either side of the weld joint or area to be examined. Because the technique is not amplitude-dependent, as in conventional ultrasonics, it is not constrained by probe location to flaw orientation, poor coupling, uneven or changing material surfaces and so on. TOFD also employs only the longitudinal wave, allowing mode converted signals to be screened out, simplifying flaw characterization and positioning. The scan data is collected in ‘raw’ form and digitized in RF format ('A' Scan).
HEAD OFFICE
P.O. Box: 84711,
106, Al Midfa Building,
Al Qusais Industrial Area 4,
Dubai UAE
©2026www.aqualisgroup.com. All Rights Reserved.
©2026www.aqualisgroup.com All Rights Reserved.